Call Recording
Download a Call Recording File
- Go to File Explorer > Select time range
- Select All orChose a Folder or Go to Folder > Select Recording File
- Click the DownloadIcon

Delete a Call Recording File
- Go to File Explorer> Select time range
- Select All orChose a Folderor Go to Folder > Select Recording File
- Click the Delete Icon
- To confirm your action, click the Delete button
- To cancel your action, click the Cancel Button

Restore a Call Recording File
- Go to File Explorer > More Action (click on the ellipsis icon) > Trash
- Chose a Folder or Go to Folder > Select Recording File
- Click on the Restore Icon
Shred a Call Recording File
- Go to File Explorer > More Action (click on the ellipsis icon) > Trash
- Chose a Folder or Go to Folder > Select Recording File
- Click on the Shred Icon
- To confirm your action, type CONFIRM in the textbox and click on the Shredbutton
Note:
All deleted files and folders that have been moved to the Trash Bin will be automatically permanently deleted after 30 days.

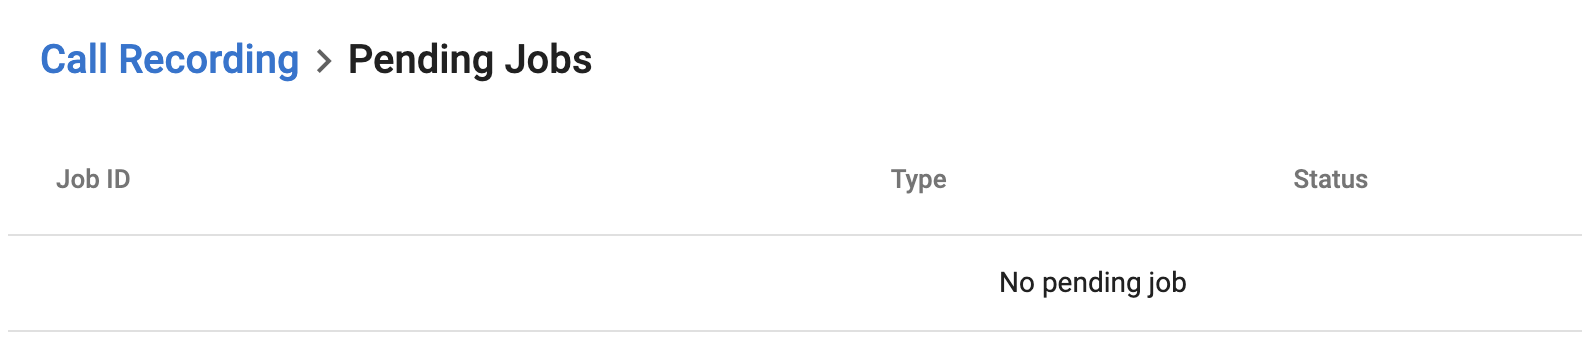
Check Pending Actions
- Go to File Explorer > More Action (click on the ellipsis icon) > Job List
- Check the Pending Jobs. These will have the following details:
- Job ID
- Type (Download/Delete/Restore/Shred)
- Status (Pending/Done)

Note:
Once completed, the Job will disappear from the Pending Jobs list.
Note:
The SLA of call recording uploading on Unified History is 24 hours.
The SLA of call recording uploading process is 1500 seconds = 25 minutes.
This value is decided based on a ratio of 1:100 compared to the maximum talk time of 4 hours, with an additional 1 minute accounted for as overhead time for the file upload process.