Connect Power SIP Trunk to CPaaS Apps
This service allows a subsidiary in one country to buy a Power SIP Trunk, enabling it to connect its phone numbers with communication apps used by the headquarters in another country. This setup allows the subsidiary to make and receive calls, set the Caller ID, and ensures smooth communication between the two locations, enhancing overall operational efficiency.
How to Connect?
Let's say Customer HQ (Org A) is headquartered in Country A and buys Telco Infra and Apps from Telco A (Domain A).
And Customer Subsidiary (Org B) in Country B buys Power SIP Trunk from Telco B (Domain B).
Power SIP is for customer subsidiary (Org B) to share the Power SIP numbers with CPaaS apps in customer HQ (Org A).
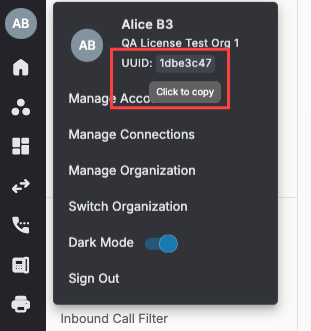
- You have to find Org UUID of Customer HQ Organization at Telco A (Domain A):
- Sign in to customer HQ organization (Org A) at Domain A
- Go to Profile Icon at the top left sidebar. and copy the Org UUID.
 * Connect Power SIP to Customer HQ Organization (Org A) at Telco B (Domain B) from Org B
- Sign In to Customer Subsidiary Organization (Org B) at Domain B
- Navigate to Power SIP
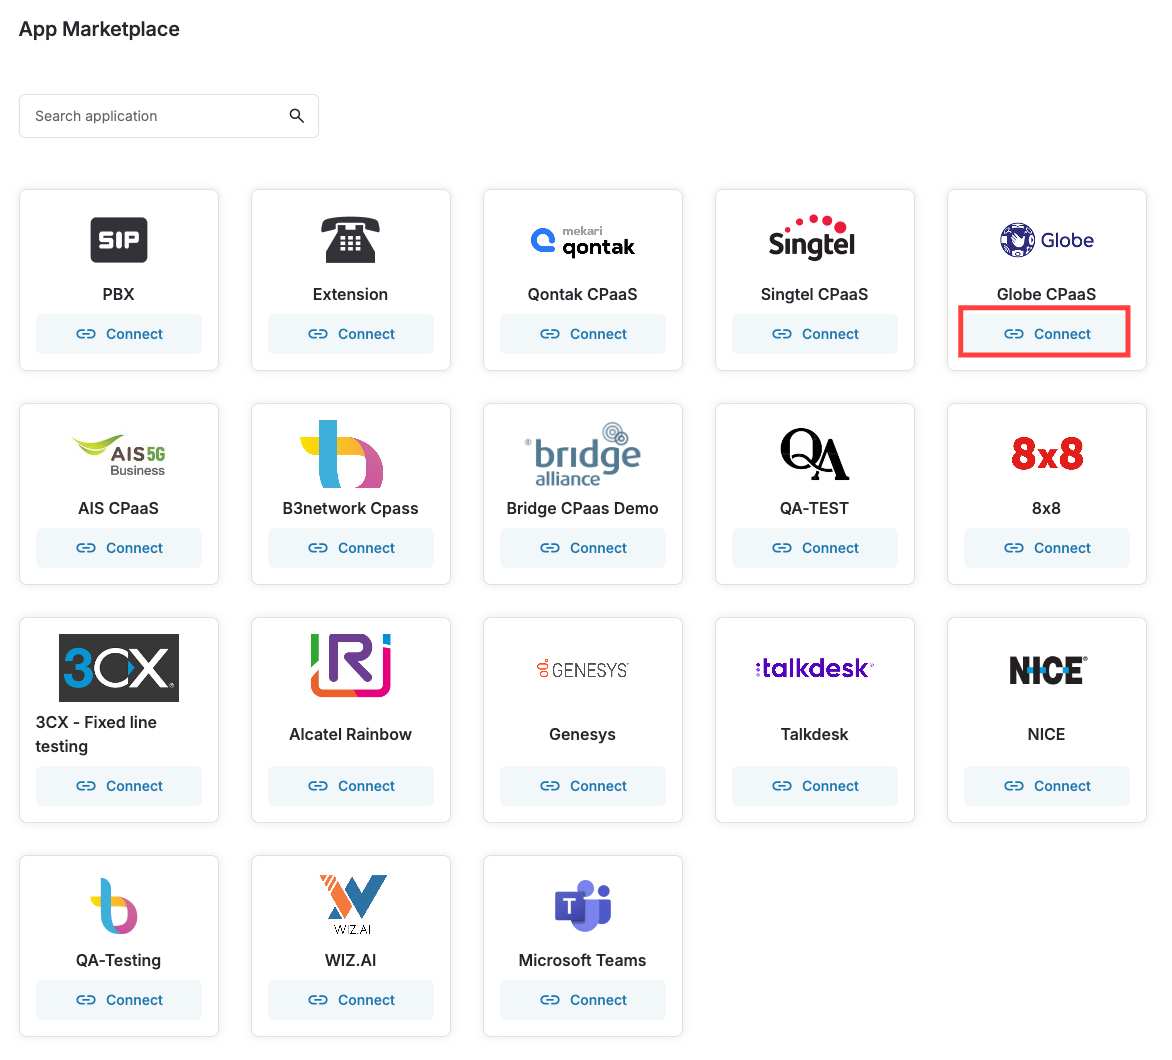
- Go to App Marketplace
- Choose the Telco A logo
- Click Connect
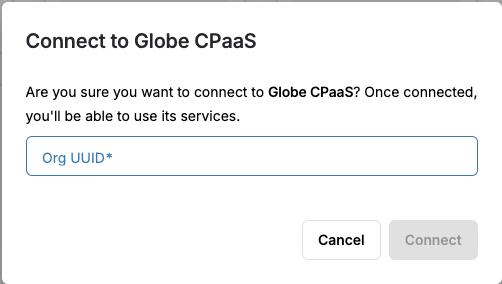
 * Connect App pop up will appear
- Paste Org UUID of Org A
- Click Connect
 * Pop up will appear that Invitation Sent Successfully
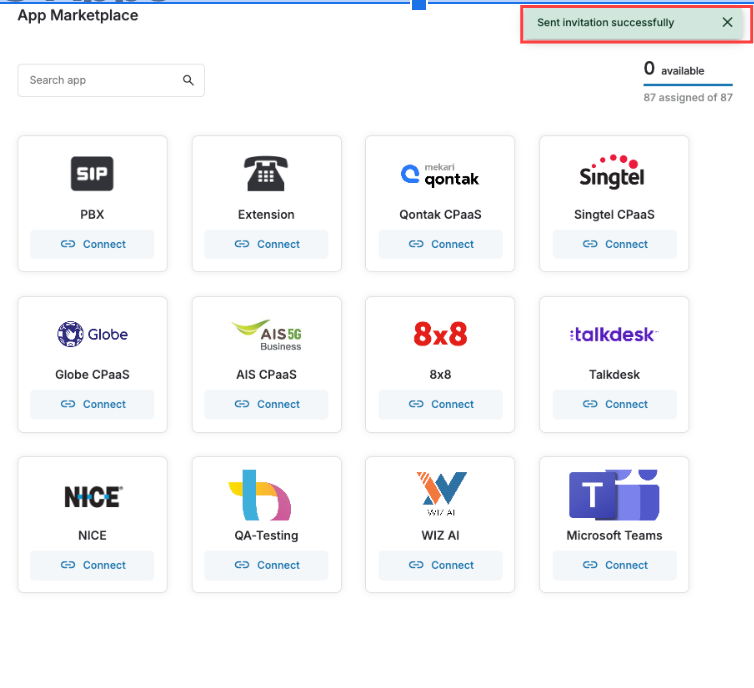 * Org B accepts the invitation from Org A. After the connect steps under Org A are completed, in order for Org B to accept an Invitation:
- Sign in to Org B
- Go to the Manage Organization, choose Organization Connect
- View the invitation with the Pending status
- Select one of the options:
- Accept
- Deny
- Once you finished, the invitation will be:
- Change Status to Active
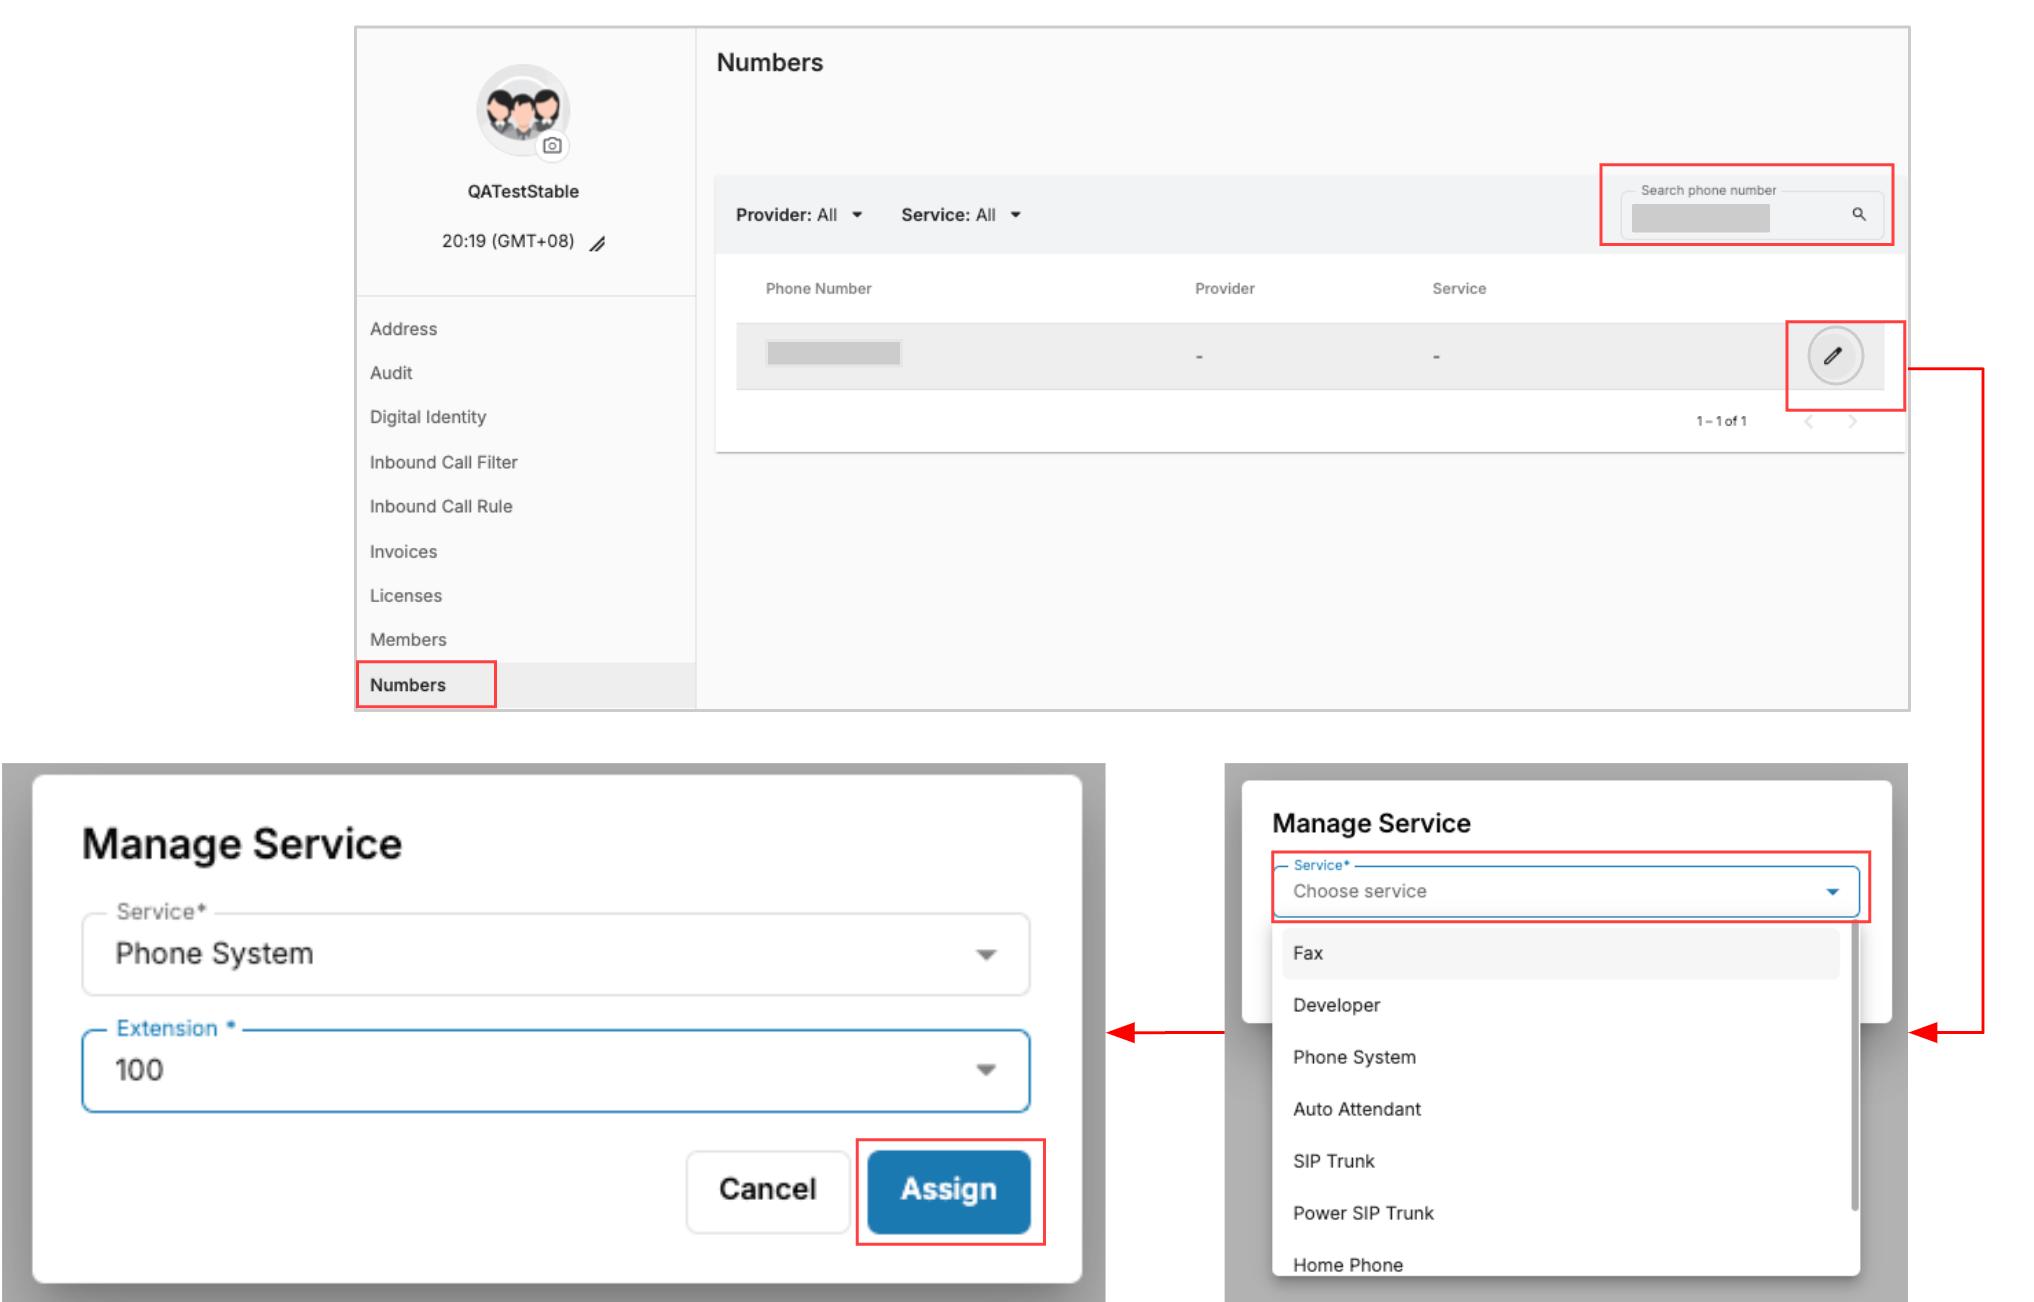
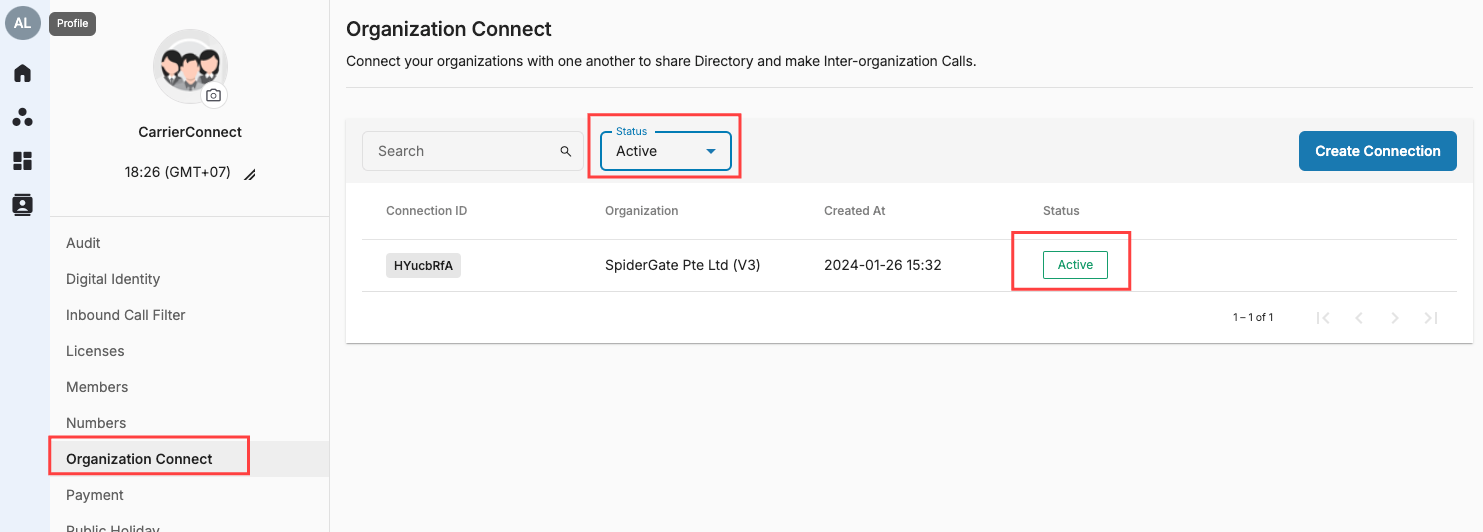 * Assign received numbers in Number Management. To assign received Numbers to CPaaS Application, please do the below steps:
- Go to Manage Organization
- Select Numbers tab
- Search the received number in search bar
- Click on Pencil Icon
- Select Service to assign
- Click Assign > Done
