Customize your Dashboard
By default, there are 5 dashboards available on the list, including:
- Inbound Call Queue
- Active Calls
- SMS Result
- Users
- Calls Result
- Conversation (Only for Omni-Channel)
However, you can customize the dashboards and widgets for the best account overview. The custom dashboards can contain one or more widgets (up to 6 per dashboard) that give you an overview of the dimensions and metrics you care about most.
Note:
- Admins within the Organization who have been granted access by the Owner can customize (Edit) the Dashboard.
- Memberswithin the Organization who have been granted access by the Owner/Granted Admins can customize (edit) the granted Dashboard.
1. Create a Custom Dashboard
1.1. Create From Scratch
- Go to Dashboard
- Click onthe “+ New Dashboard” button
- Select Create From Scratch
- Click Next
- Input Dashboard information (Dashboard name and Description)
- Choose Widgets (Allow maximum 6 widgets at one time)
- Select Layout (Maximum of 5 pages for 1 dashboard)
- Click Next
- Click Save to create the dashboard
Note:
- The maximum number of custom dashboards can be created is 10.
- Disable the “+ New Dashboard” button when creating more than 20 dashboards
1.2. Create From Template
- Go to Dashboard
- Click on the “+ New Dashboard” button
- Select Template
- Edit **Dashboard information (**Dashboard name and Description)
- Click Next
- Click Save to create the dashboard
 2. Edit a Custom Dashboard
In order to edit a custom dashboard:
- Go to your custom dashboard
- Click on the edit icon
- Edit the dashboard name / layout / widgets as you wish
- Update
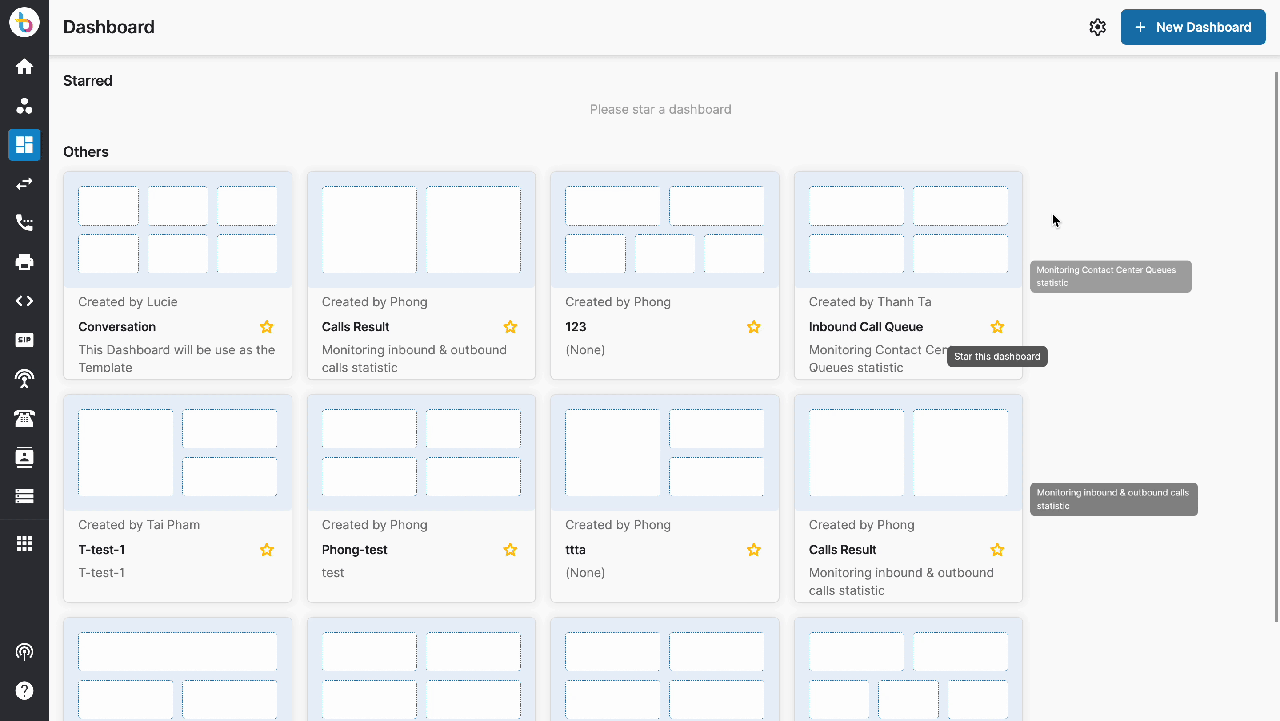
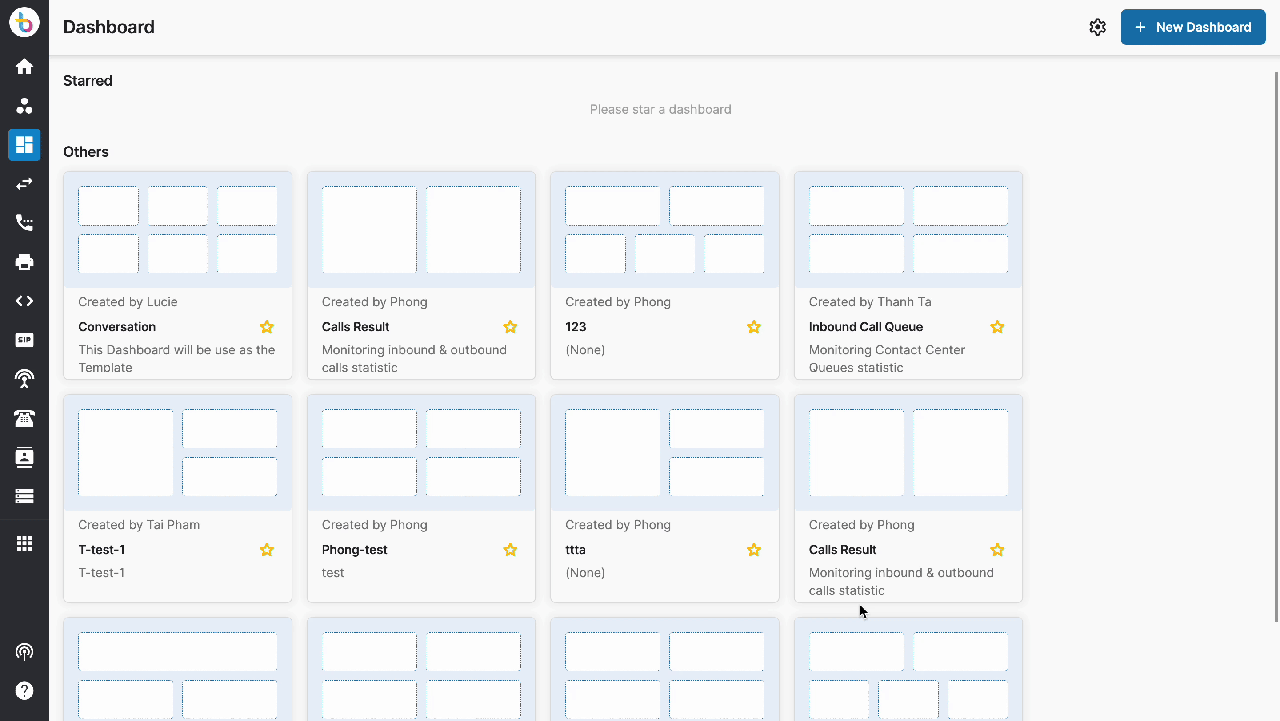
 3. Star/ Unstar a Dashboard
You can select which dashboards (custom or default dashboards) you want to appear on the top navigation bars by marking them as starred.
In order to star/ unstar a dashboard, click on the star icon on that particular dashboard.
Note:
- Maximum 5 dashboards can be starred
- If no custom dashboard exists, the five default dashboards will be marked as starred.
- The other dashboards are still accessible through a dropdown menu. However, it will disappear from the top navigation bar once you switch to other tabs.
 4. View Dashboard
View Starred / Unstarred Dashboards
 ### Hide Filter for Inboxes and Date Range
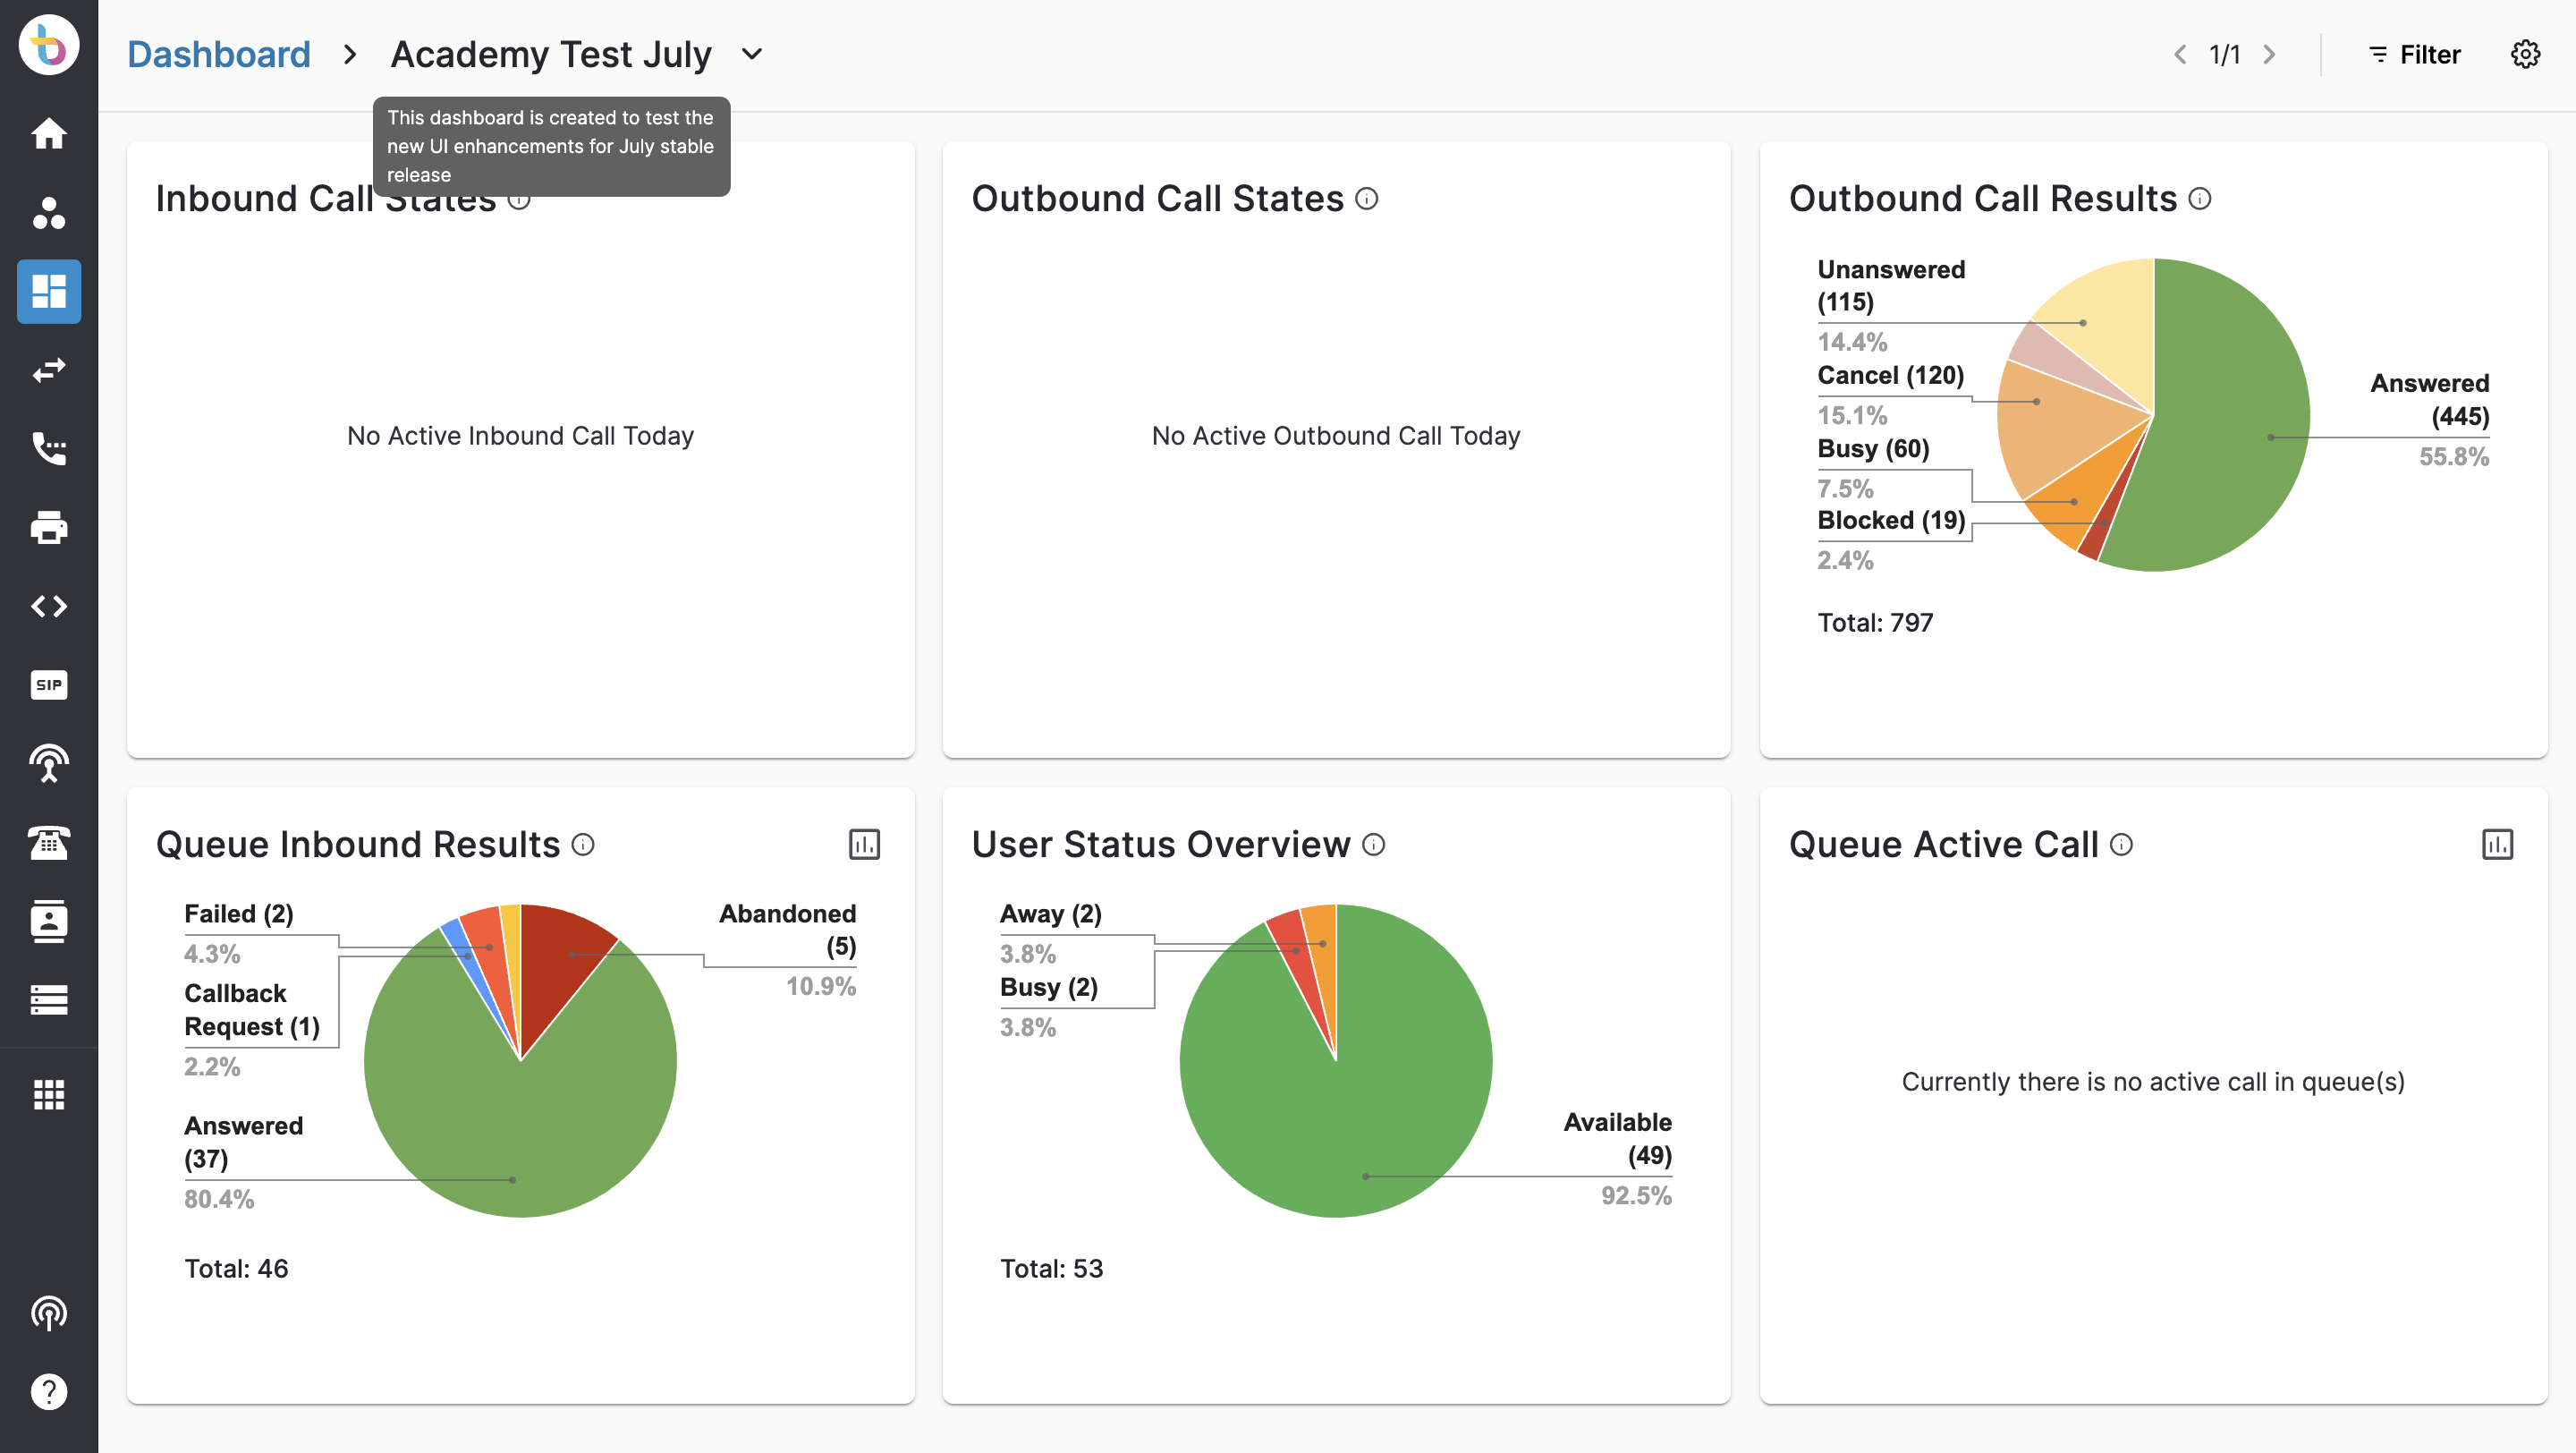
 ### Show Dashboard Description
Users will be able to see a description when hovering over the Dashboard's name.
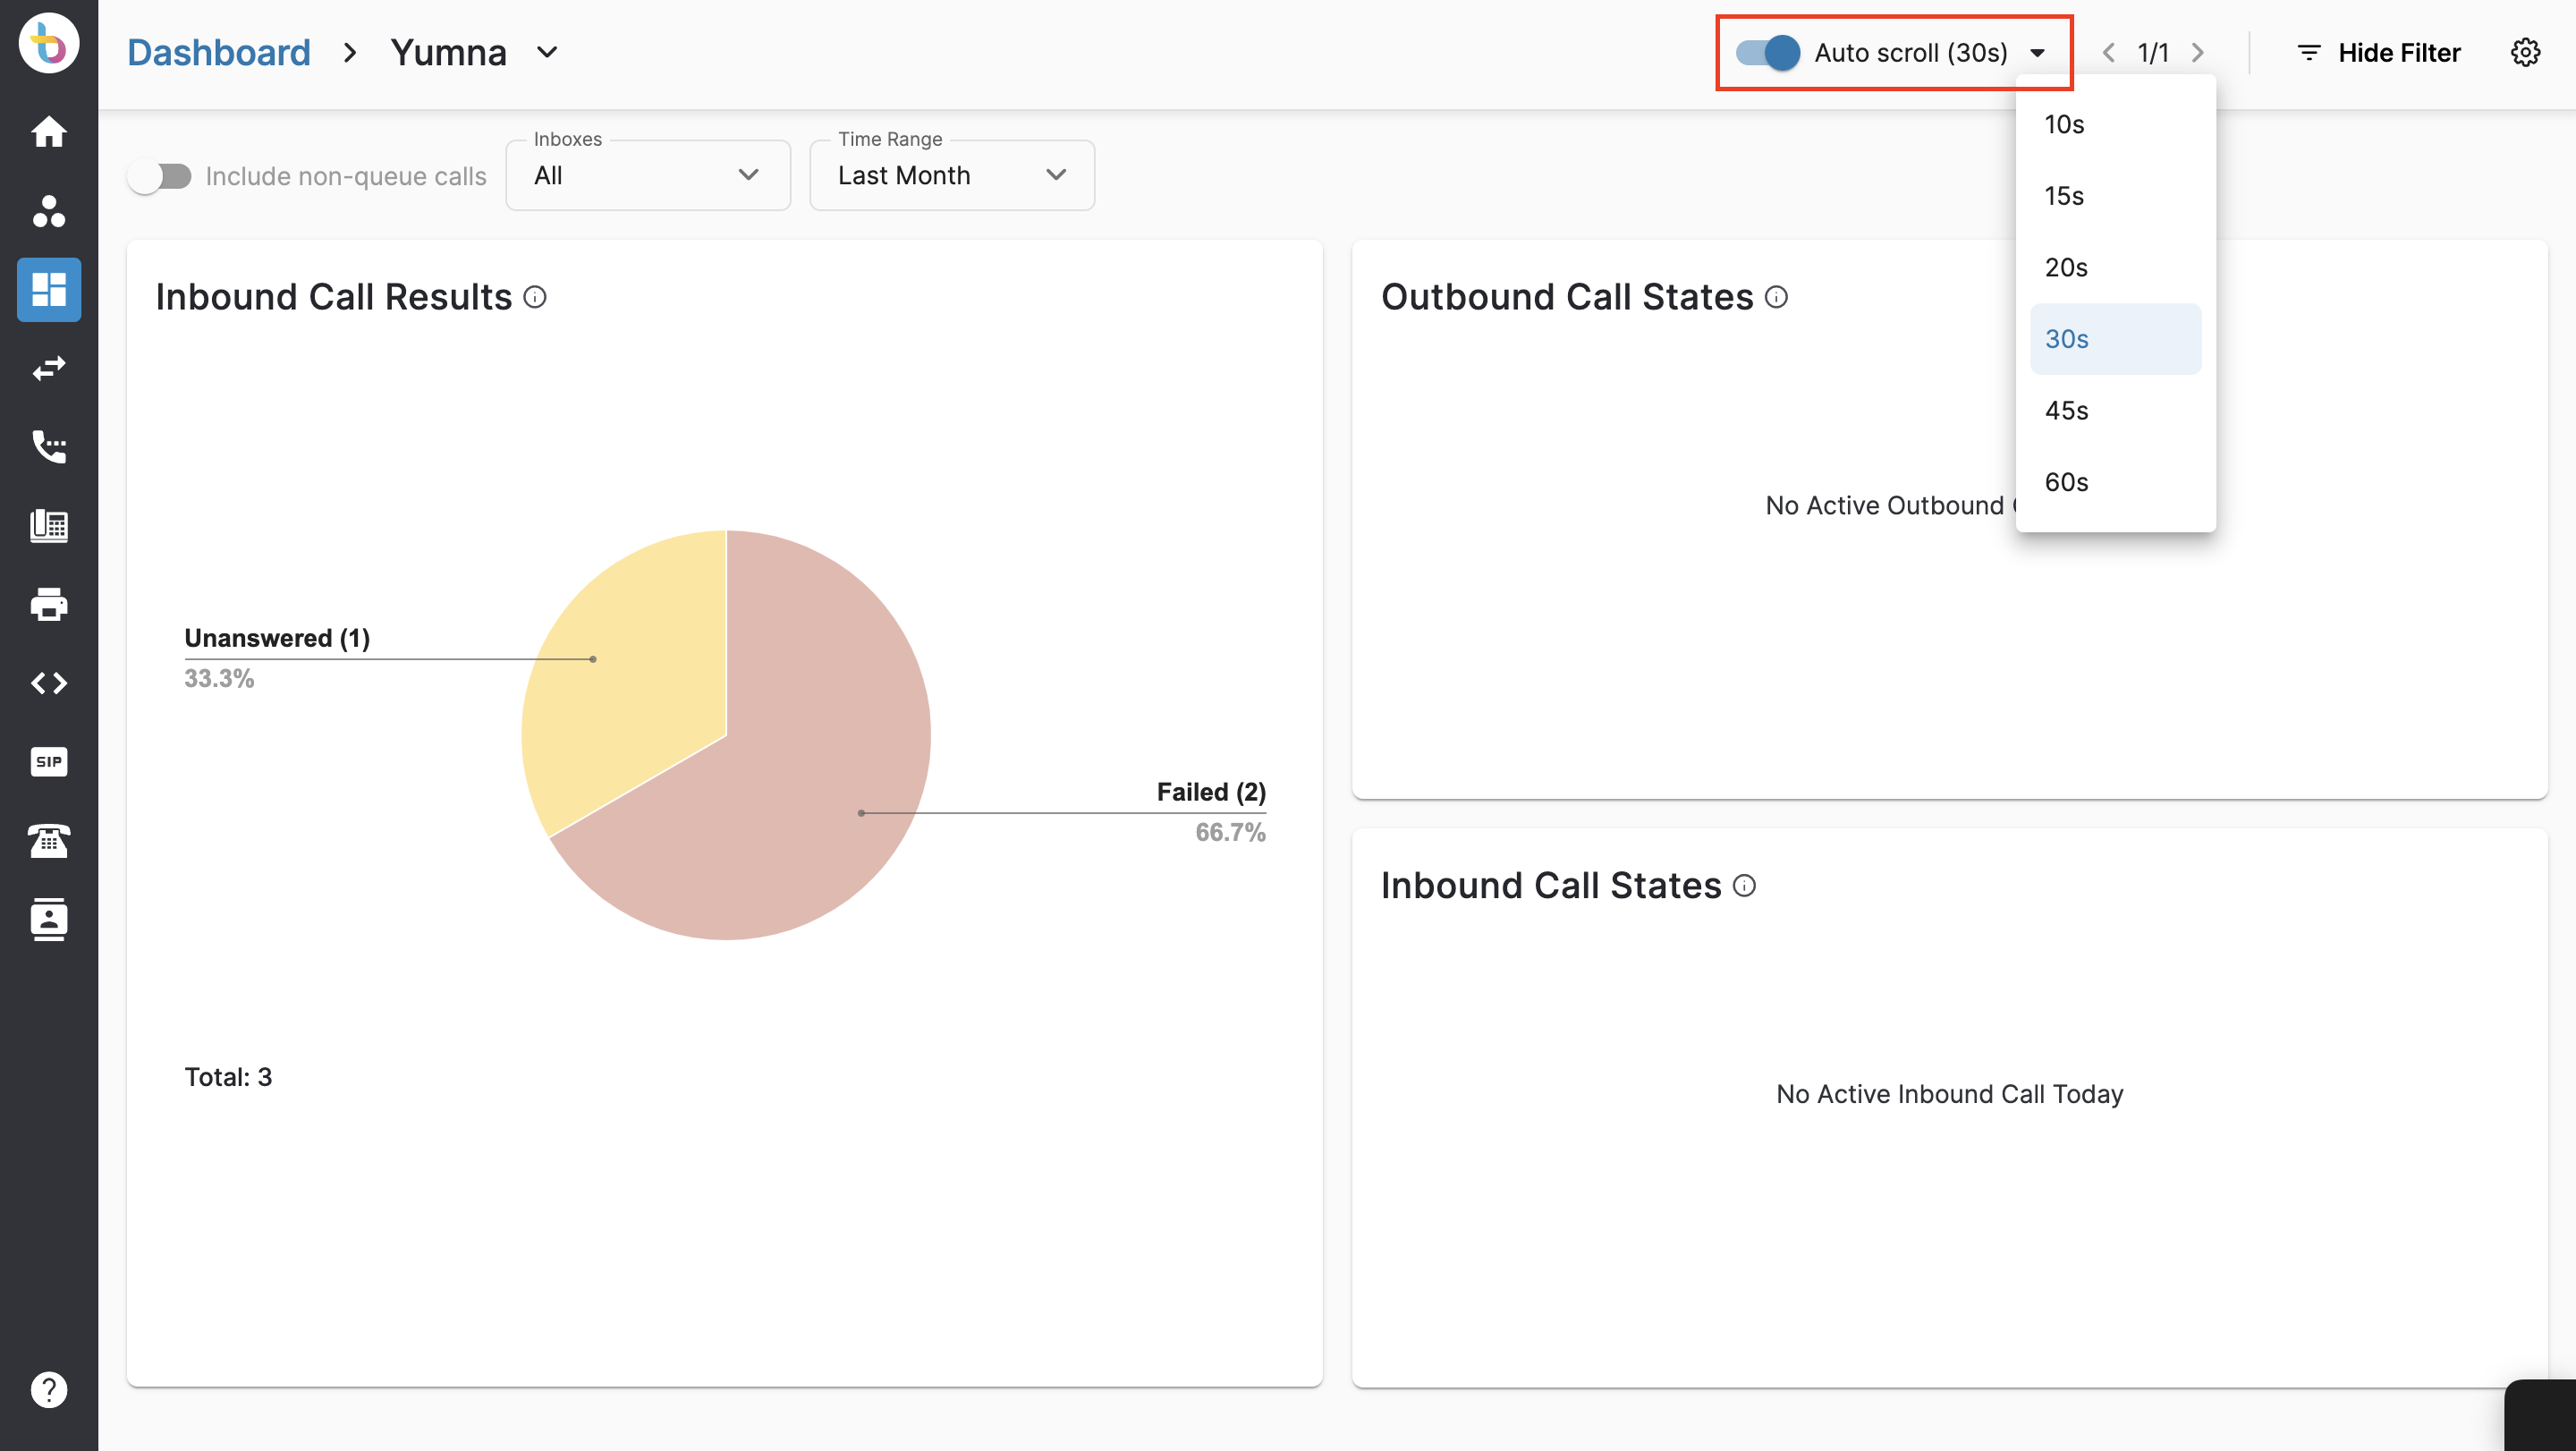
 5. Auto Scroll Threshold
This function will allow the users to configure the Auto Scroll Threshold (in seconds) and the dashboard will navigate between widgets automatically.
User can configure the threshold for the Auto Scroll function in the dashboard from 10 to 60 seconds.
- Go to your dashboard
- You can turn the Auto Scroll on and off
- From the drop down list choose the duration for Auto Scroll.
- Done
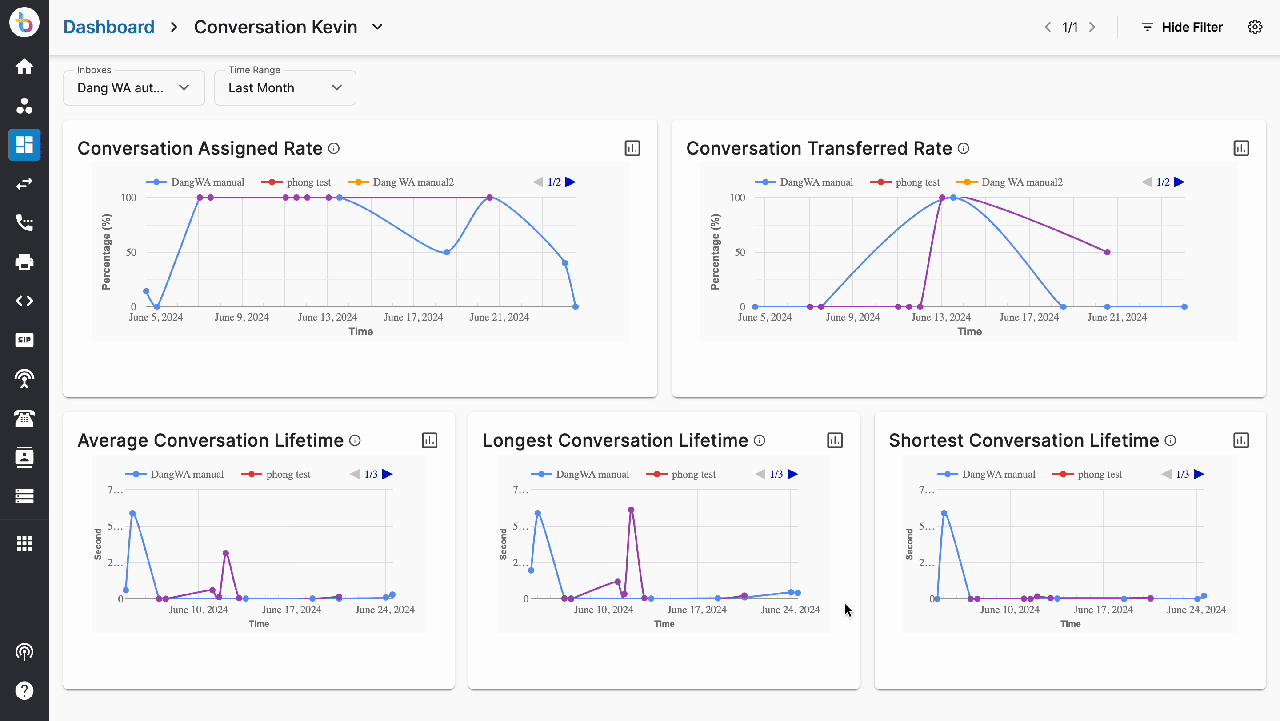
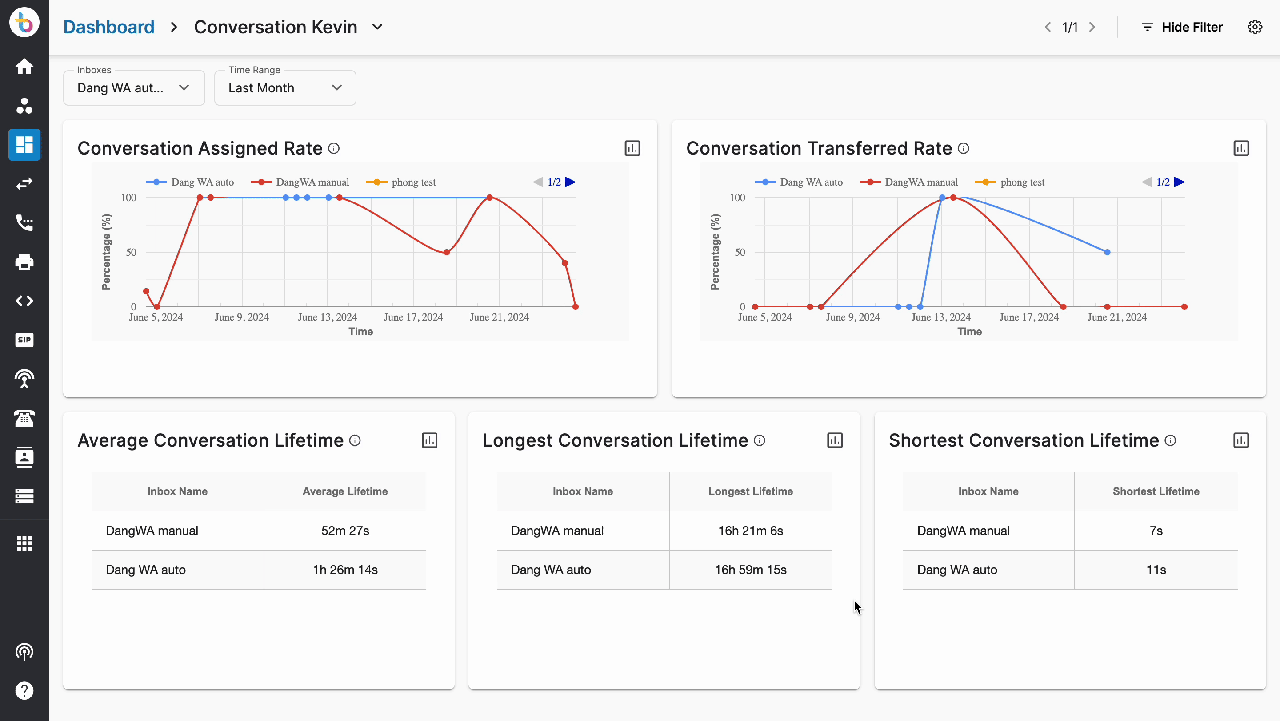
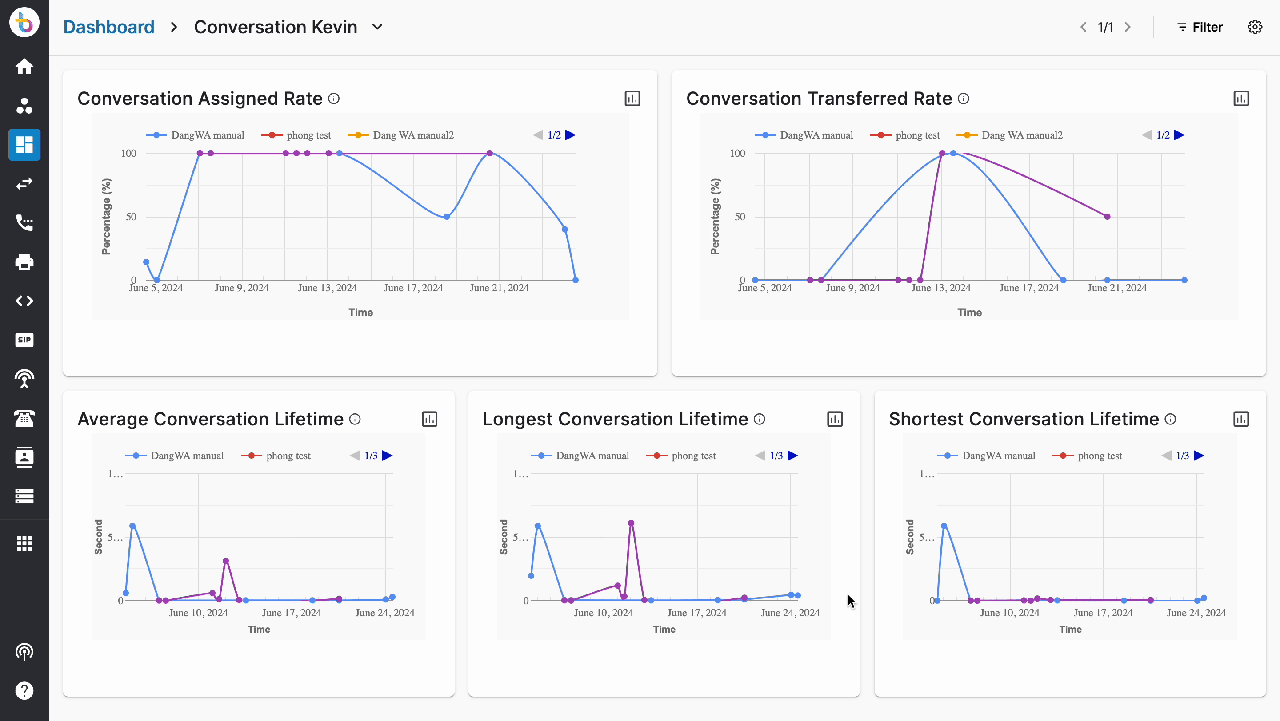
 6. Multiple Layout for One Widget
This feature provides the different layouts in which the widget can be arranged or presented on the screen. Layouts can be selected based on the user's preferences.
This multiple layout option allows the users to:
- change the widget layout as preference
- switch between different types of charts
 7. Delete a Custom Dashboard
In order to delete a custom dashboard:
- Go to your custom dashboard
- Click on the delete button
- Type CONFIRM
- Delete